In today's fast-paced online marketplace, it's crucial to make your brand shine. Personalization is key, and one way to achieve it is through HTML Custom Options. This cool feature lets you add images, videos, and more to your product choices, giving customers an exciting shopping experience.
Why Customize Your Products?
Customization isn't just a trend; it's a big deal in e-commerce. People love products tailored to their tastes, and businesses that offer them have an edge. HTML Custom Options take this a step further by letting you add interactive elements right into your product.
The Benefits for You and Your Customers
HTML Custom Options are a win-win. They make shopping more fun for customers, which means happier shoppers who are more likely to buy. And for businesses, that means more sales, happier customers, and stronger brand loyalty.
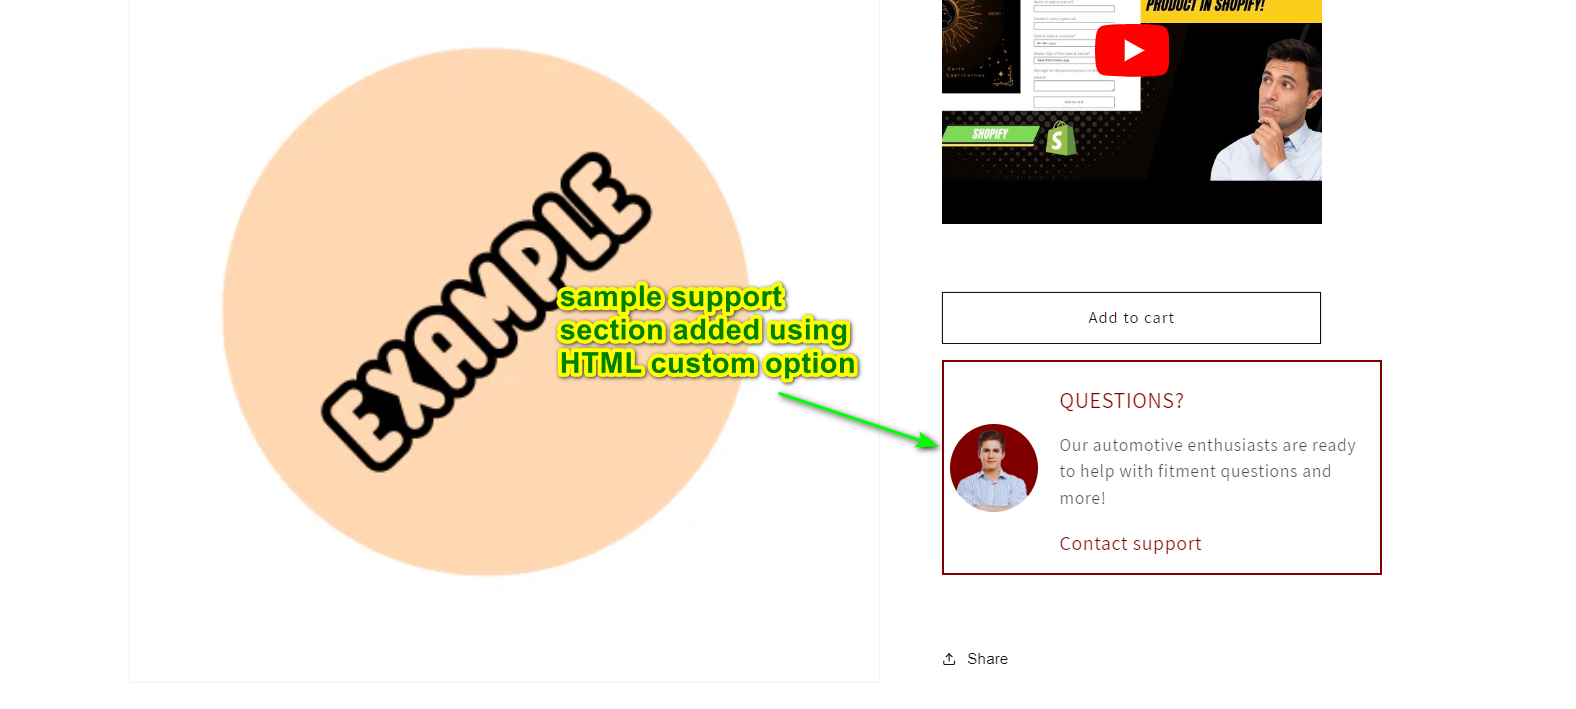
See It in Action
Want to see how powerful HTML Custom Options can be? Check out this example: a support section is added on the Shopify product page using HTML custom option of ScalePrint Designer & Variants.
How to Add HTML Custom Options
Now that we've explored the benefits of HTML Custom Options, let's dive into how to integrate them into your e-commerce platform:
- Access Product Customization Settings: Navigate to the product customization settings within your e-commerce platform's dashboard.
- Select Product: Choose the product to which you want to add HTML Custom Options from your product list.
- Add Custom Option: Locate the option to add custom options for the selected product and click on it.
- Create New Custom Option: Once in the custom options interface, select the option to create a new custom option.
- Enter Option Details: Provide a title for the custom option and specify the field as "HTML". This will enable the HTML input block.
- Input HTML Code: Input your HTML code into the designated block. You can embed various elements such as images, videos, or interactive features.
- Save Changes: Once you've entered the HTML code and customized other settings as needed, save your changes to add the HTML Custom Option to your product.
- Preview Customization: Before making the option live, preview it to ensure it appears as intended and functions correctly.
- Publish Custom Option: Once satisfied with the preview, publish the HTML Custom Option to make it available to customers.