How to Add SKU to Shopify Product Variants?
Managing your Shopify store effectively requires a strong backend organization. One essential aspect of inventory management is assigning Stock Keeping Units (SKUs) to your products and their variants.
SKUs are unique identifiers that make it easier to track inventory, manage orders, and sync with third-party tools. In this blog, we’ll provide a step-by-step guide on how to add SKUs to your Shopify product variants, so you can streamline your store operations efficiently.
What Is an SKU, and Why Does It Matter?
An SKU (Stock Keeping Unit) is a unique alphanumeric code used to identify and organize products and their variants. While your customers won’t see SKUs, they’re critical for backend operations.
Why Add SKUs?
- Efficient Inventory Tracking: Easily manage stock levels.
- Order Management: Link SKUs to orders for precise fulfillment.
- Sales Analysis: Use SKUs to understand product performance.
- Third-Party Integration: Sync inventory with shipping and analytics tools.
How to Add SKU to Shopify Product Variants
Step 1: Log in to Your Shopify Admin
1. Go to Shopify login and log in with your credentials.
2. Navigate to the Products section in the left-hand menu.

Step 2: Select a Product
1. Click on the product you want to edit.
 2. Scroll down to the Variants section on the product page.

Step 3: Add SKUs for Variants
1. Click on the variant you wish to edit.
2. Locate the SKU (Stock Keeping Unit) field in the variant editor.
3. Enter a unique SKU for the variant. For example:

- For a Ski Wax in size Medium, your SKU could be:
SKI-wax-M.
4. Repeat this process for all product variants.
Step 4: Save Your Changes

After entering the SKUs, click the Save button at the top-right corner to apply your updates.
Adding SKUs in Bulk
Step 1: Export Products
1. In Shopify Admin, go to the Products page.
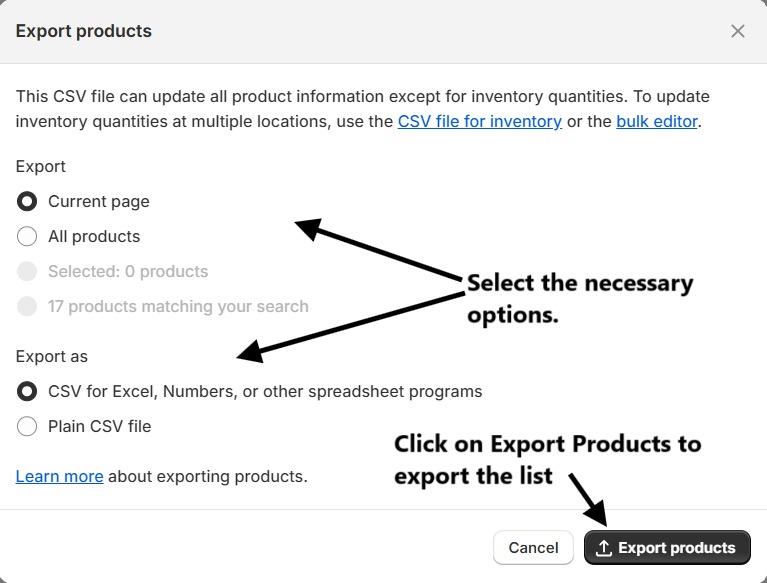
 2. Click Export in the top-right corner.
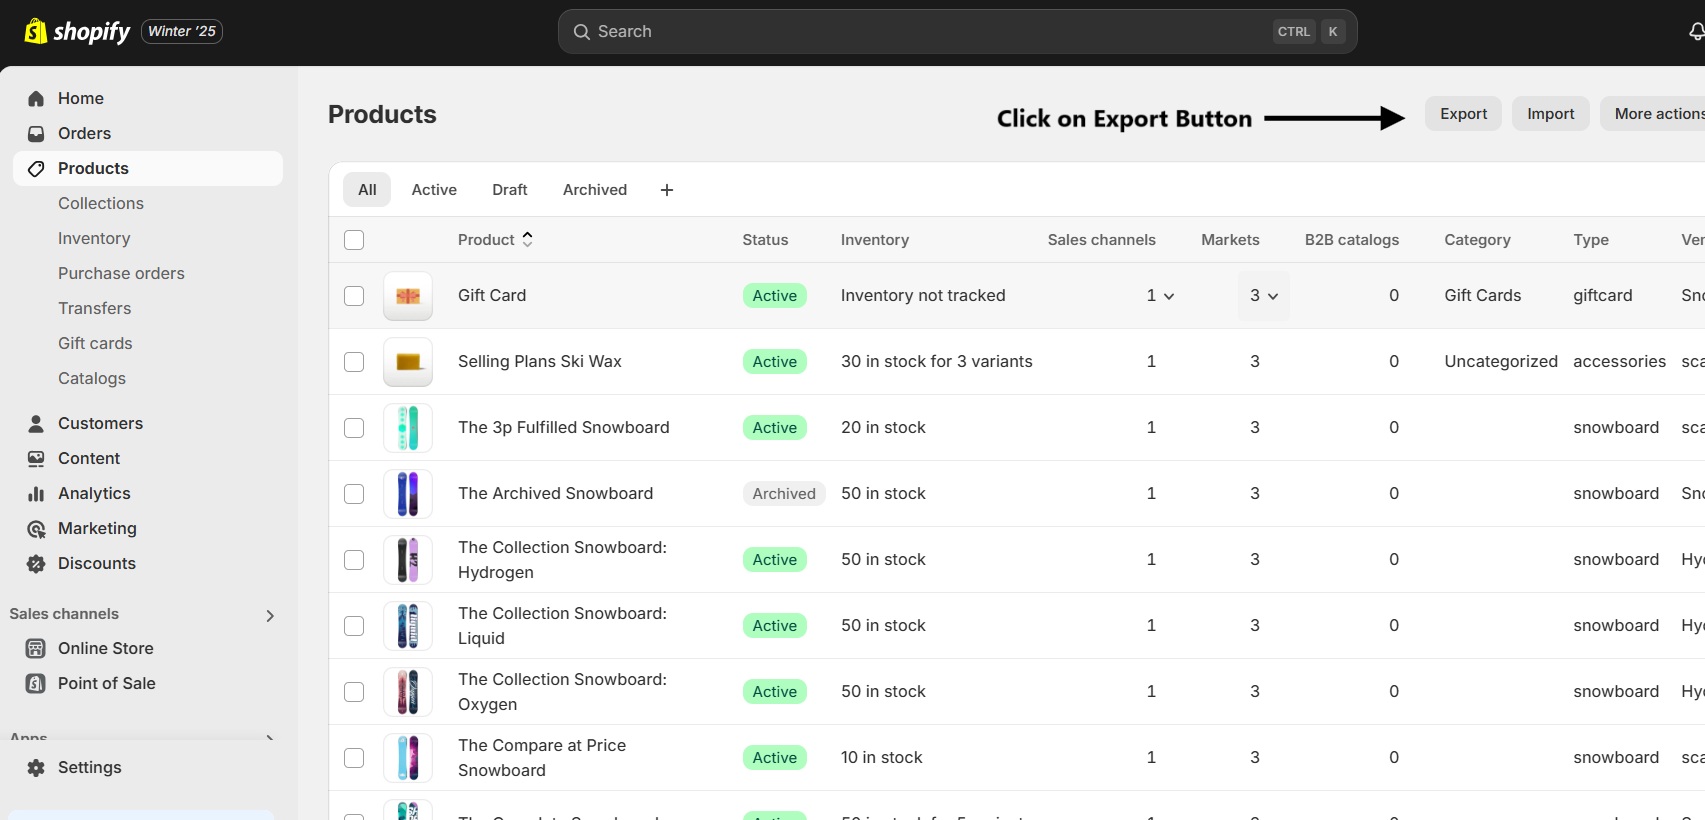 3. Select Desired Option and export the file in CSV format.
Step 2: Edit the CSV File
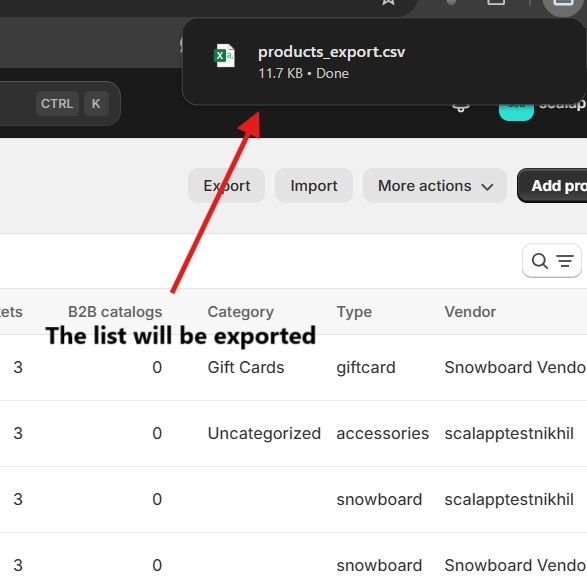
1. Open the CSV file in a spreadsheet editor (Excel or Google Sheets).
2. Locate the SKU column and add unique SKUs for each product variant.
3. Save the file in CSV format.
Step 3: Import the CSV File
1. Go back to the Products page in Shopify Admin.
 2. Click Import and upload the updated CSV file.
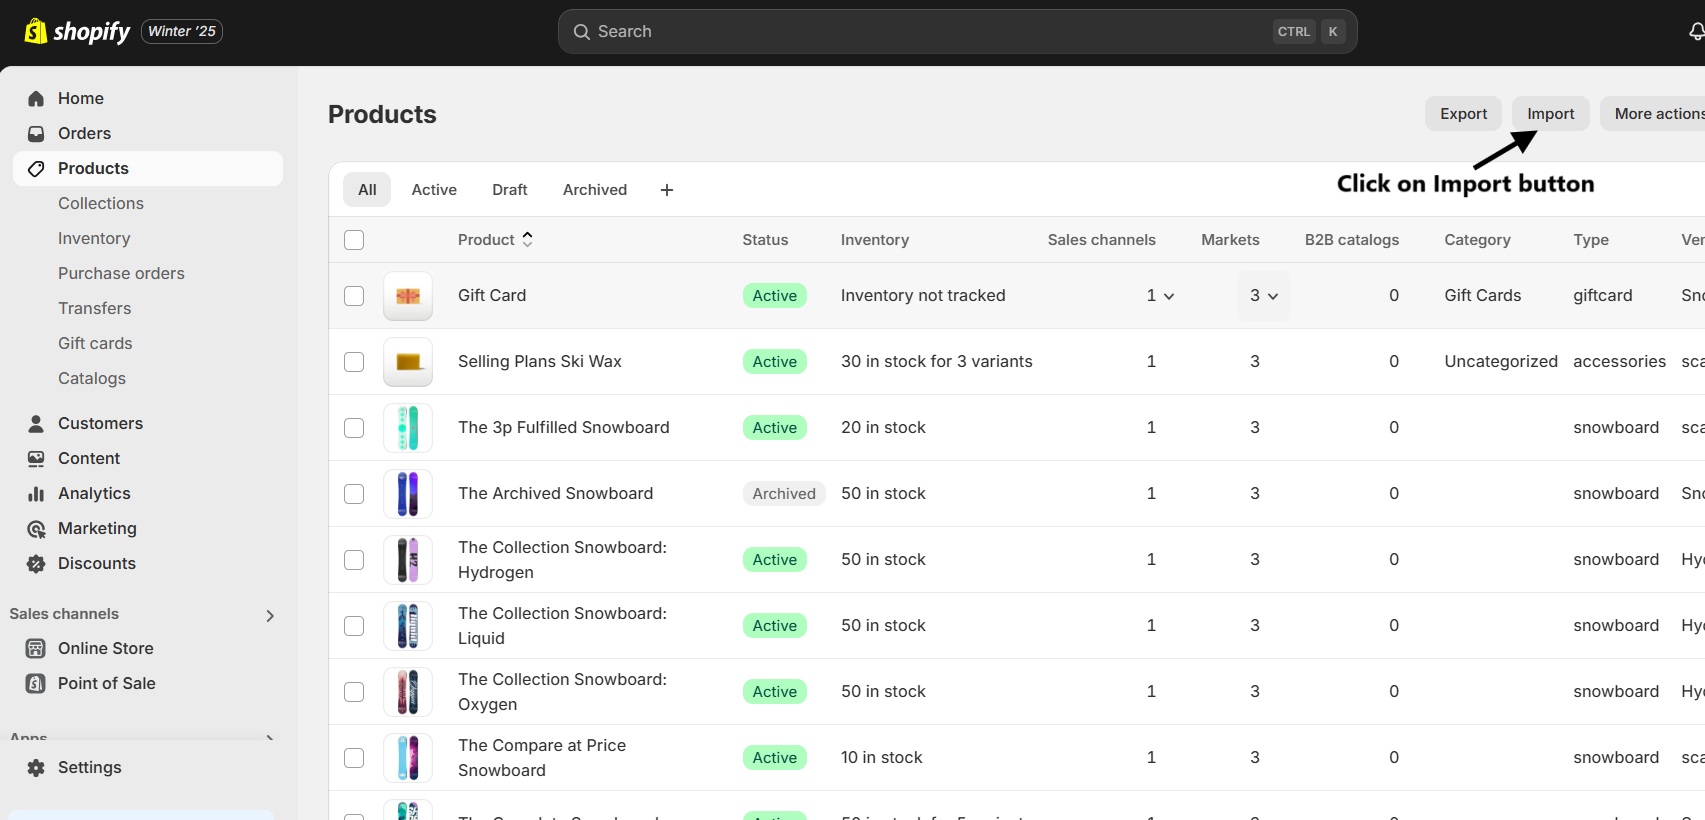
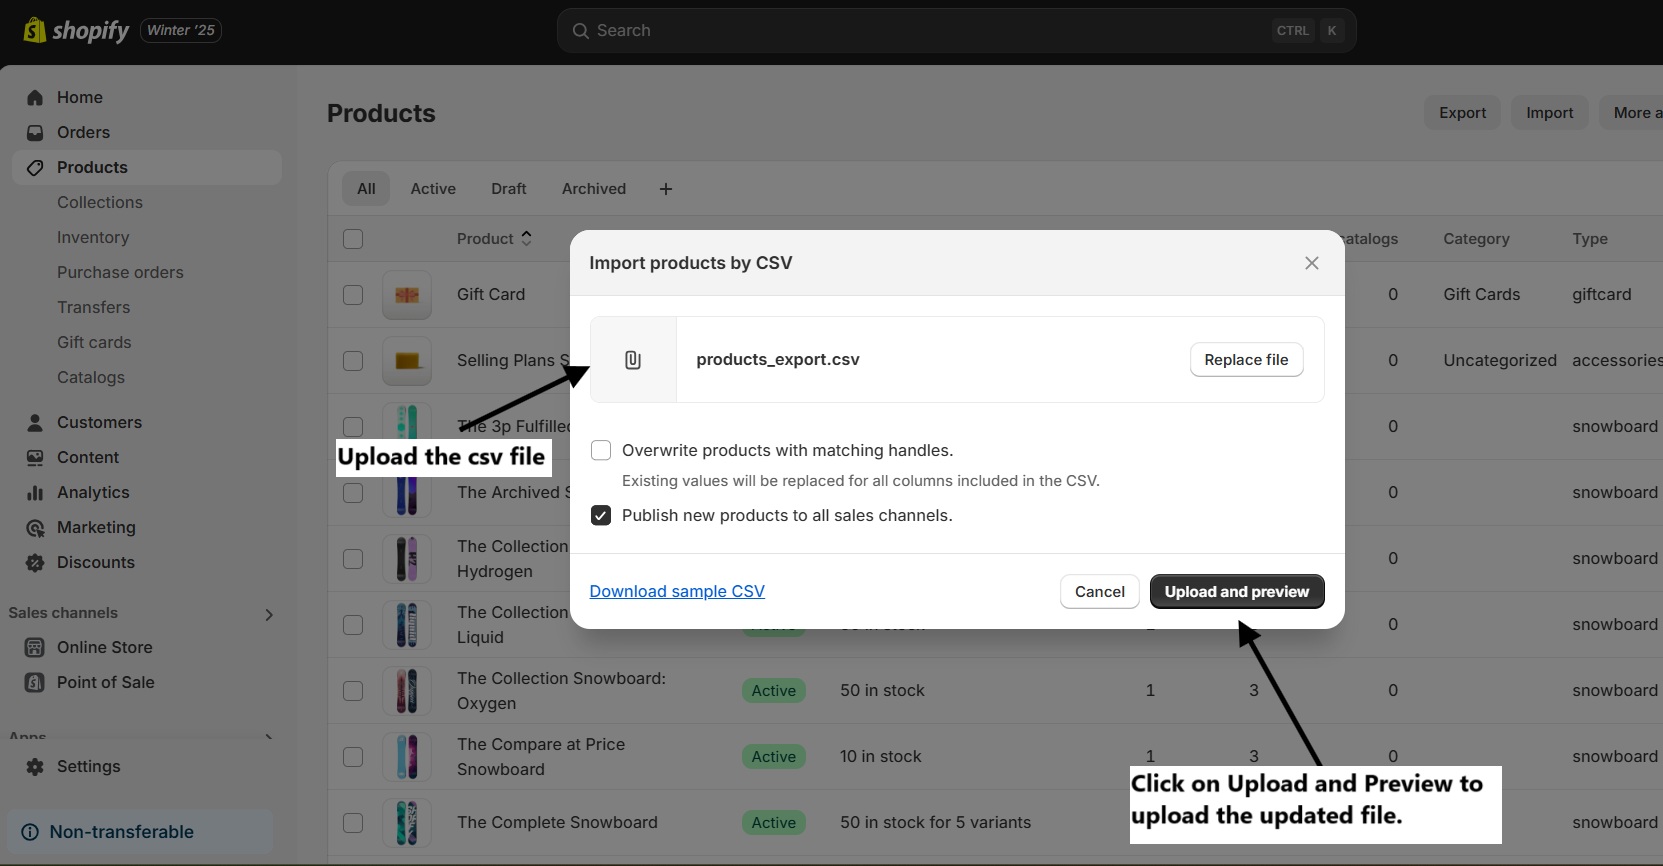 3. Shopify will update your product details, including SKUs.
Conclusion
Adding SKUs to your Shopify product variants is a crucial step in managing your store efficiently. Whether done individually or in bulk, SKUs provide an organized system to track inventory, manage orders, and gain sales insights. Implement SKUs today and enhance your store's operations!
