How to Create Designer Layout for Designer View?
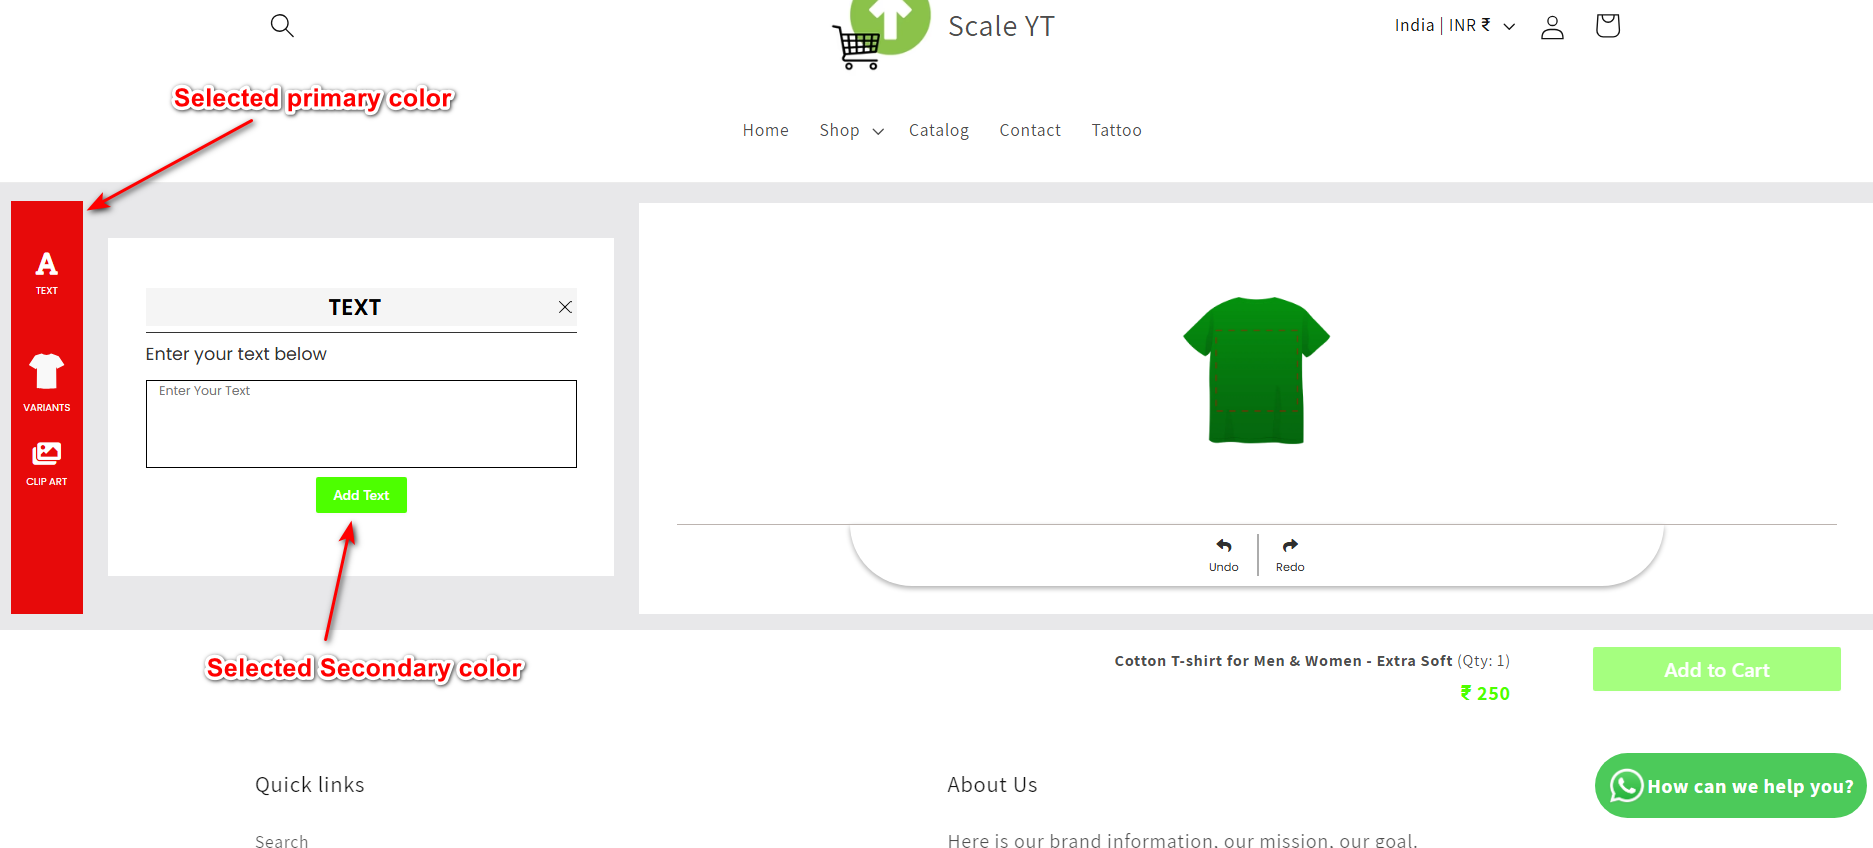
Here's a step-by-step guide on how to create a designer layout for the designer view in the ScalePrint Designer & Variants admin panel and your Shopify store:
-
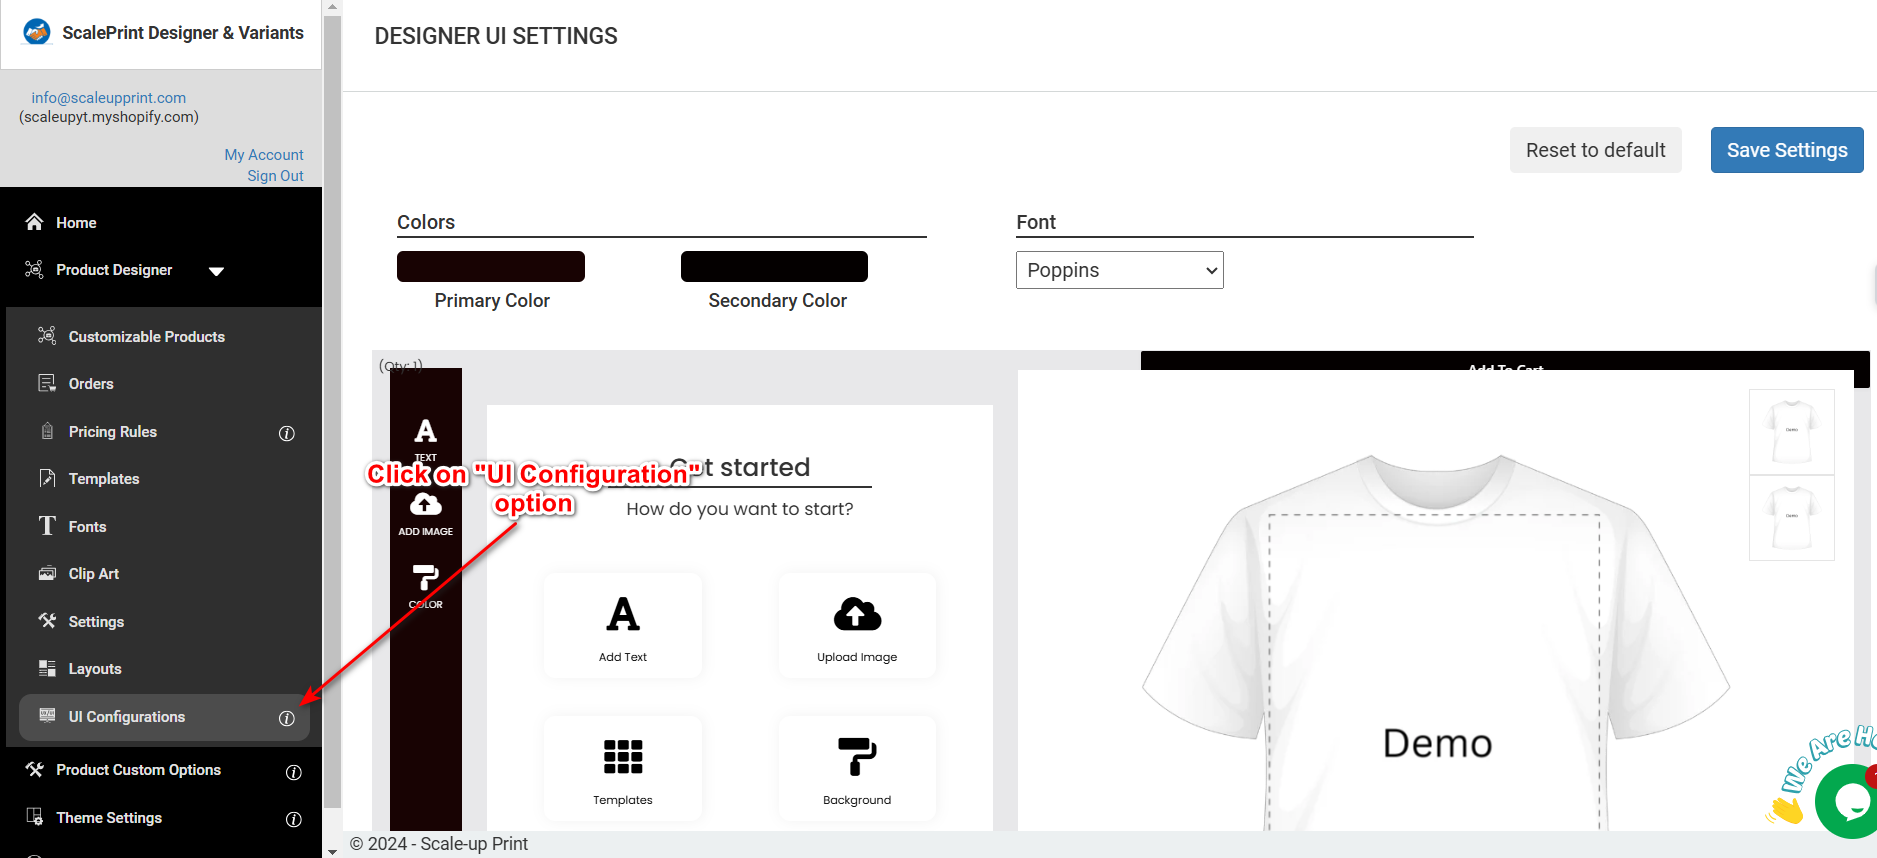
Choose the UI Configuration Option
After logging into the ScalePrint admin panel, navigate to the "UI Configuration" option in the side menu. This section allows you to customize the user interface elements of the product designer, such as tool placements, color schemes, and overall layout appearance. Adjust these settings to provide an intuitive and visually appealing experience for your customers.

-
Select the Customization Option on Designer Area
Once you are in the designer area, locate and click on the "Customization" option in the toolbar or settings menu. This feature enables you to manage and configure specific customization options for the product, such as adding text, images, or other design elements. Selecting this option ensures the designer interface is tailored to meet your product's customization requirements.

-
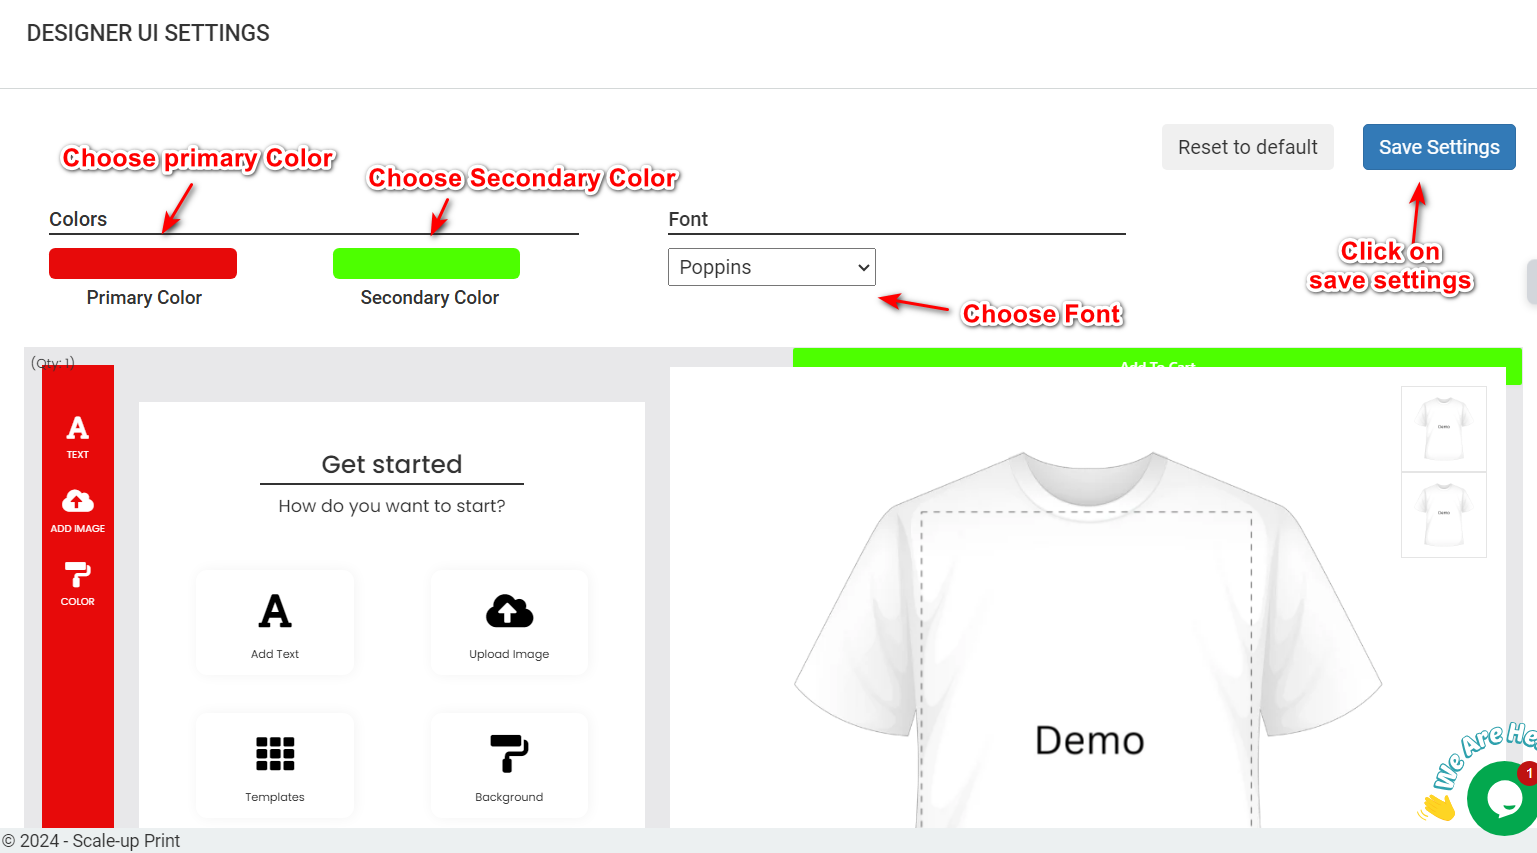
UI Configurations in Designer Area
In the designer area, navigate to the toolbar or settings menu to access the "UI Configurations" option. This feature allows you to customize the user interface, including layout adjustments, enabling or disabling design tools, and configuring specific settings for text, images, or design elements. Modifying the UI configurations ensures a user-friendly and tailored design experience for your product.

