How to Select Options to Display on Designer and Apply Them on Customizable Products?
Here's a step-by-step guide on how to choose options for the designer view and apply them to customizable products in the ScalePrint Designer & Variants admin panel and your Shopify store:
-
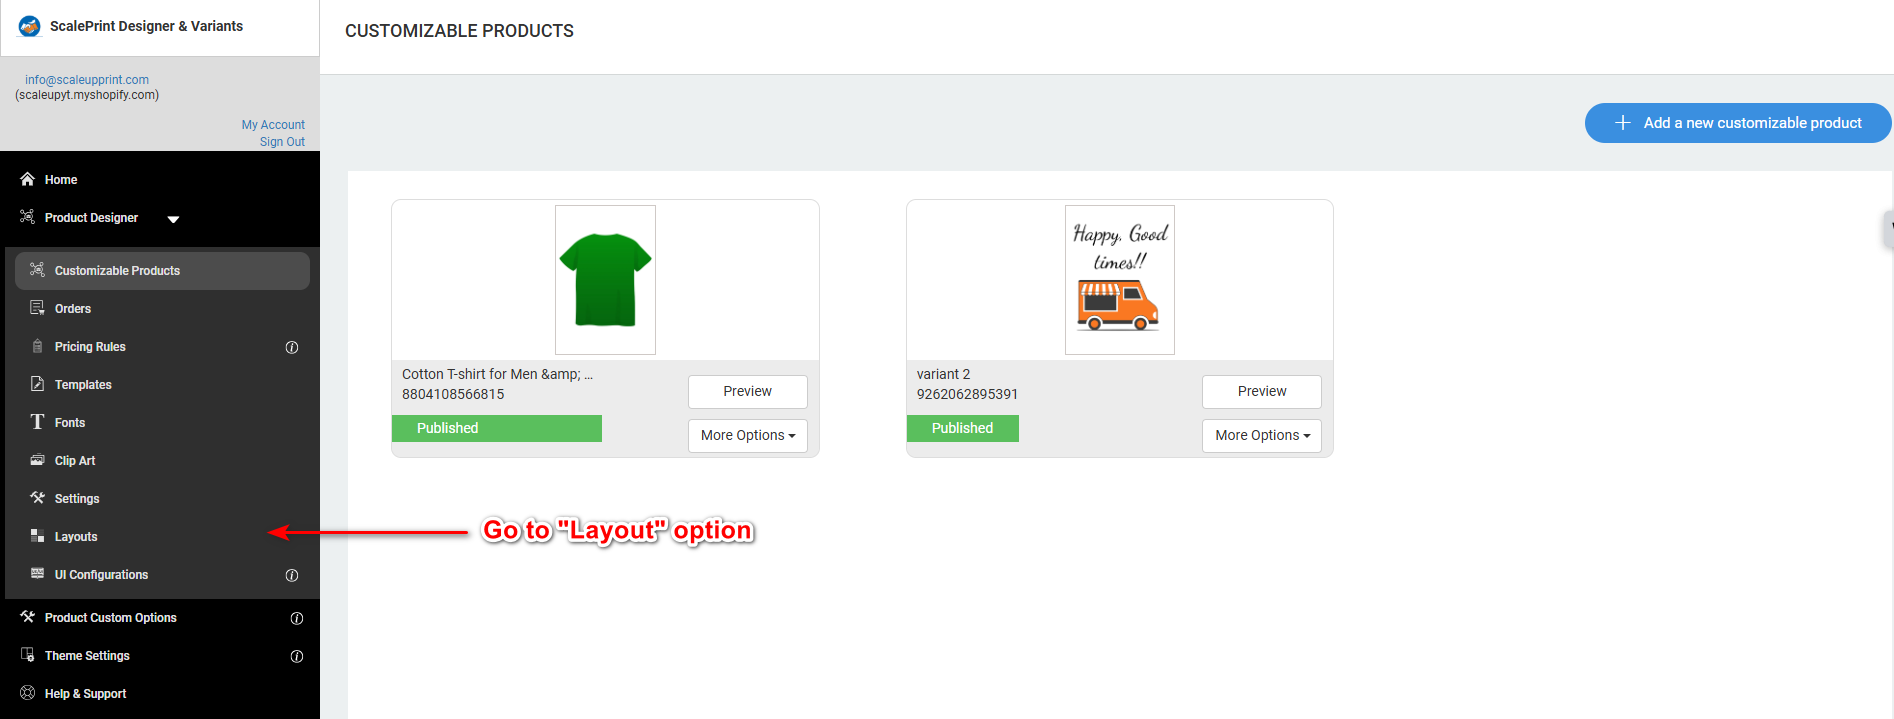
Access the Designer Layout Section
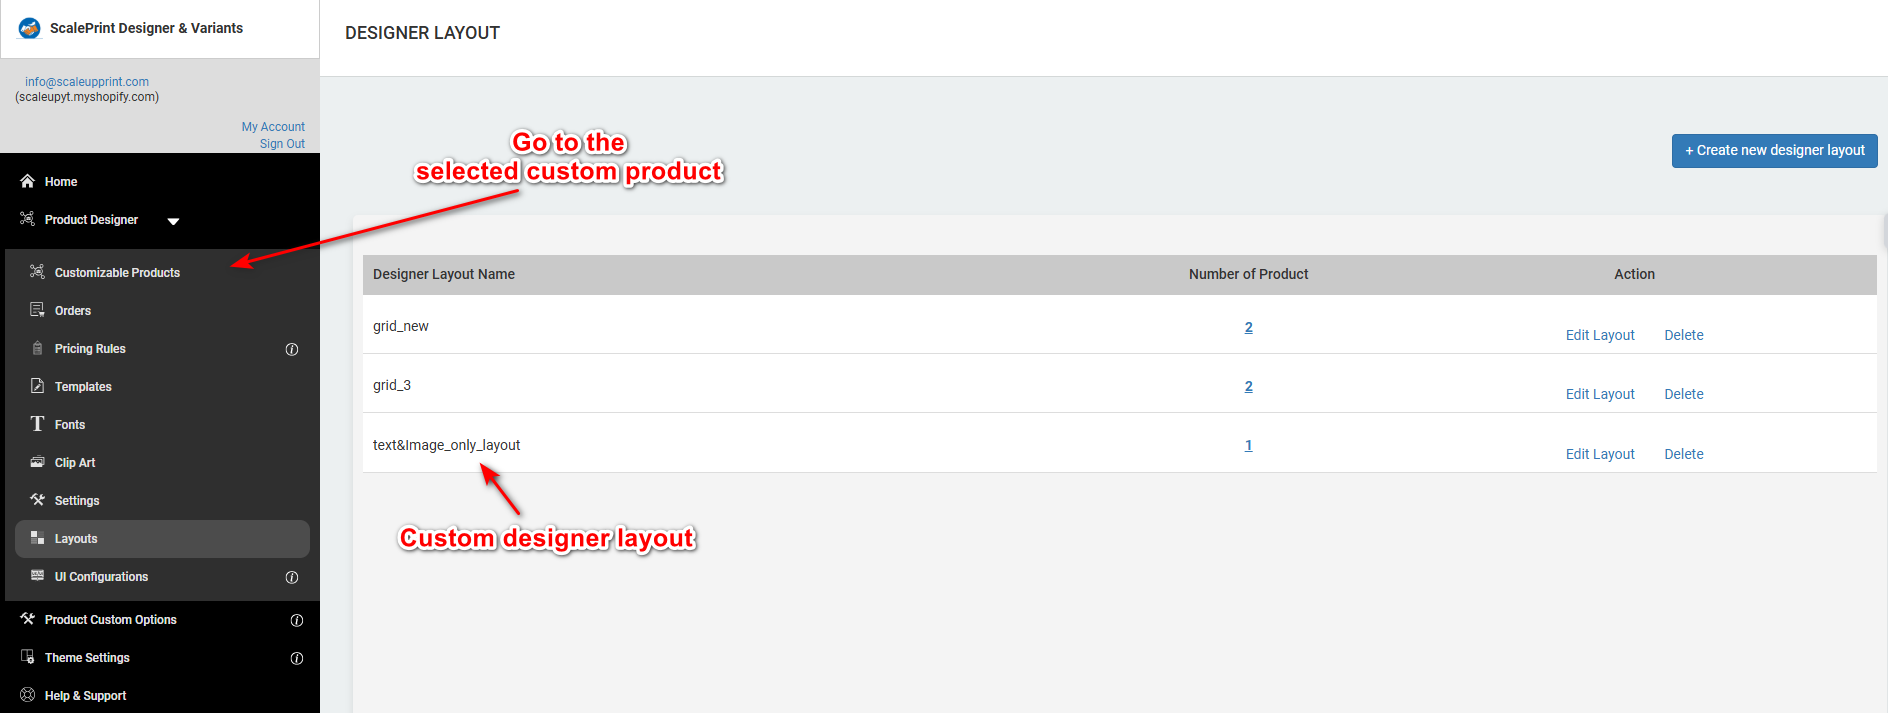
Start by logging into the ScalePrint admin panel. From the main dashboard, navigate to the "Designer Layout" option in the side menu. This section lets you manage and customize layouts for your product designer view.
-
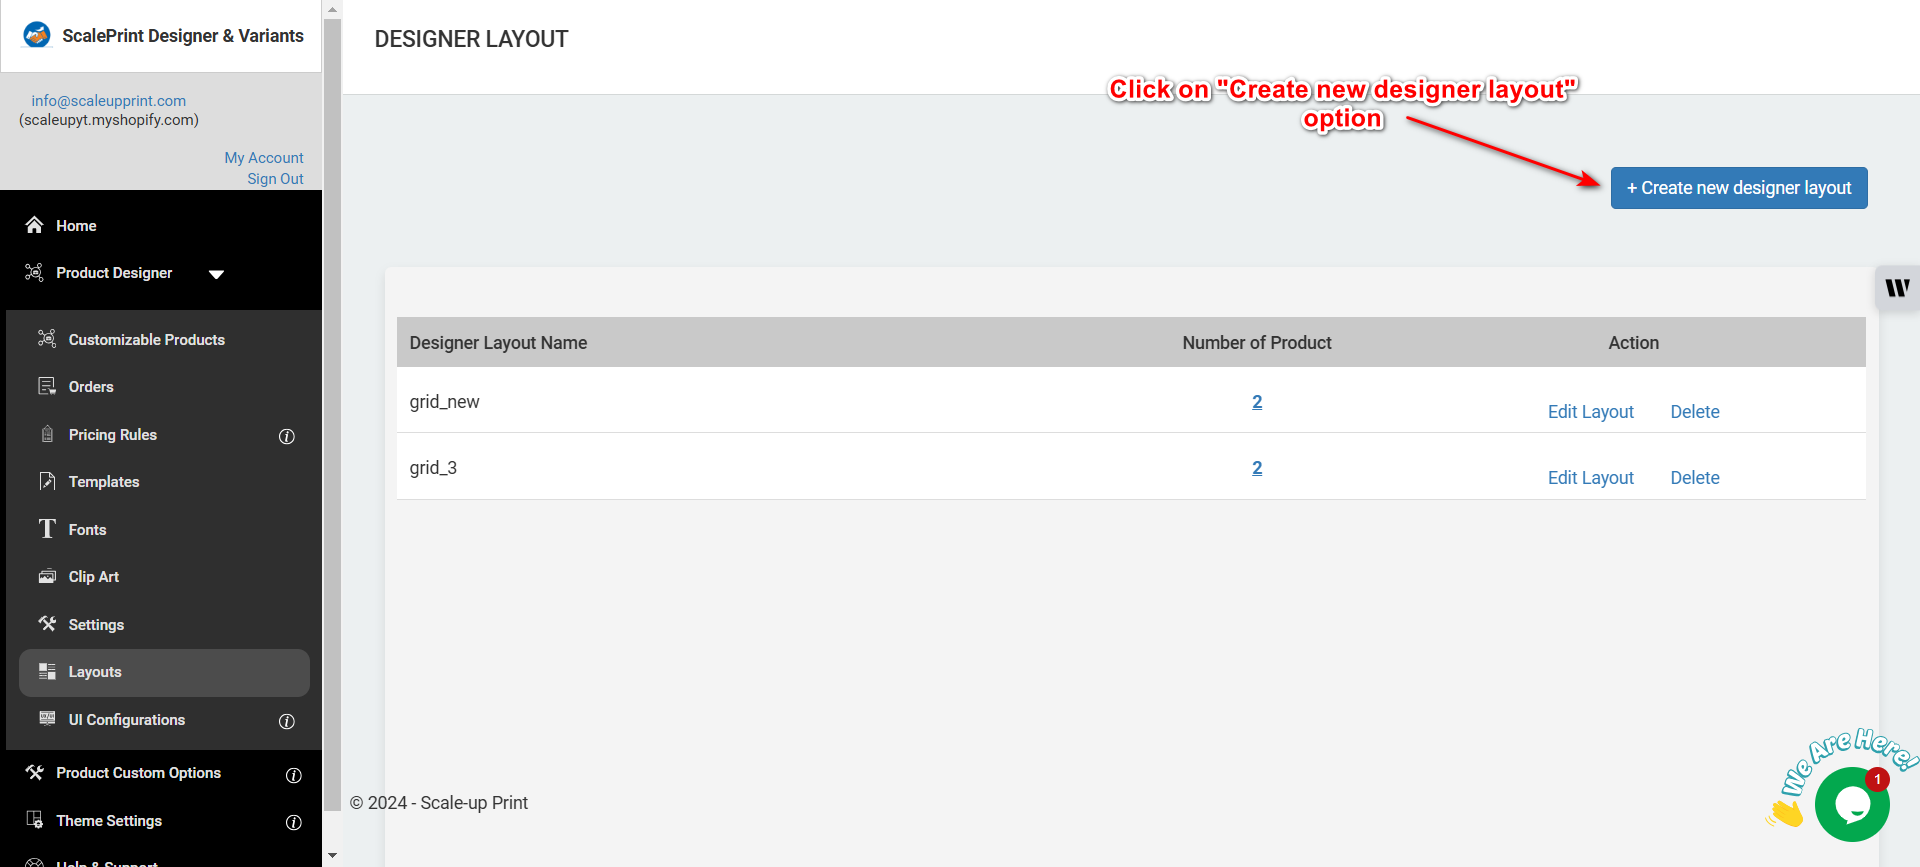
Create New Designer Layout
To create a new designer layout, navigate to the layout configuration settings and select the "Create New Layout" option. Define the layout parameters, including dimensions, design elements, and customization settings. Ensure that all required options are configured to align with product requirements. Once created, the layout will be available for assignment to specific products, enabling customers to customize them effectively on the front end.
-
Edit Designer Layout Dialog Box
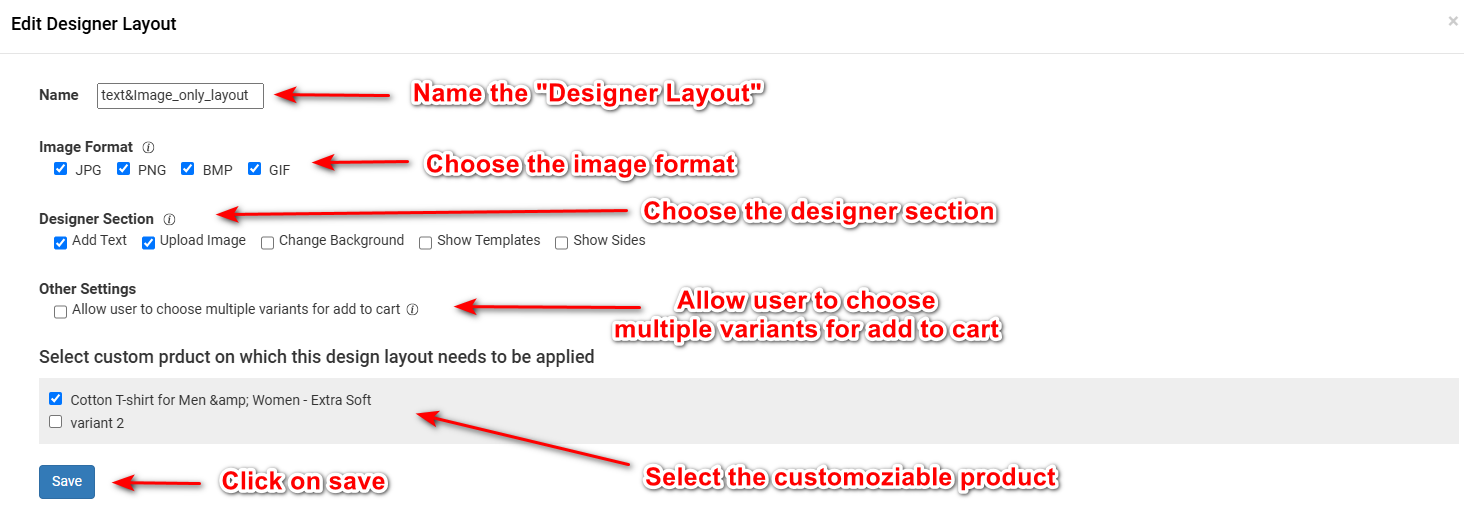
To modify an existing designer layout, open the "Edit Designer Layout" dialog box. Navigate to the layout management section and select the layout you want to edit. Update the layout parameters such as dimensions, design elements, and customization options as needed. Ensure that the changes reflect the required updates for product compatibility. Once edits are complete, save the layout and verify its functionality by testing it in the product designer preview.
-
Click on Customized Product
Navigate to the product designer or admin panel and locate the "Customized Product" option. Click on it to access a list of products that have been customized or are ready for customization. This section provides tools to review, edit, and manage customized product settings, ensuring that all adjustments meet the desired specifications before finalizing the product.
-
Click on Preview Button
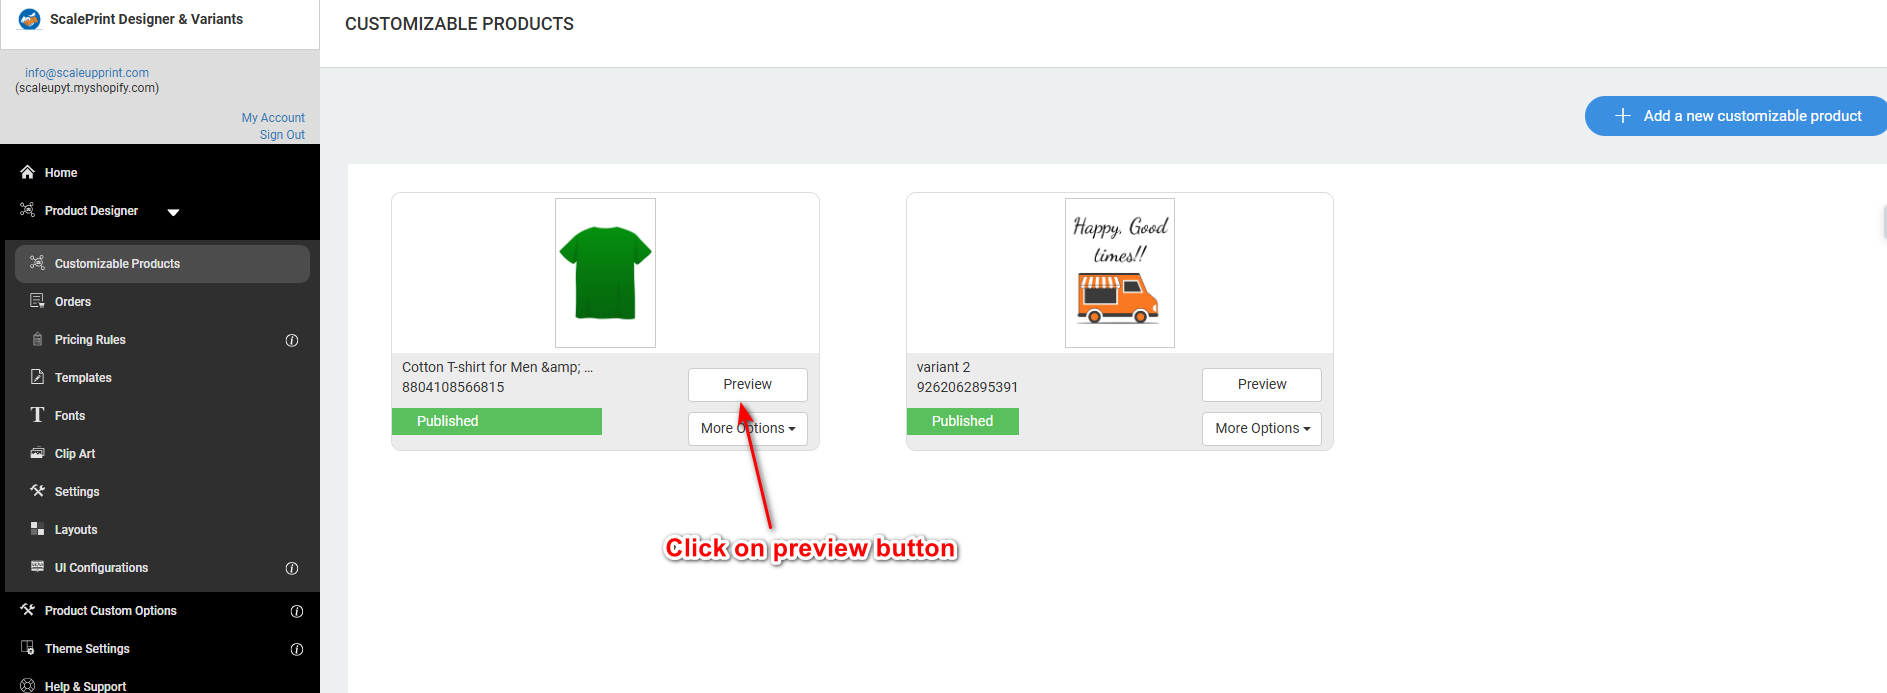
After completing your customization, click on the "Preview" button to review the product design. This step allows you to see how the final product will appear, ensuring all elements are correctly aligned and meet your expectations. If adjustments are necessary, return to the customization tools to make changes. Once satisfied, proceed to finalize the design or add it to the cart.
-
Click on Customize Button
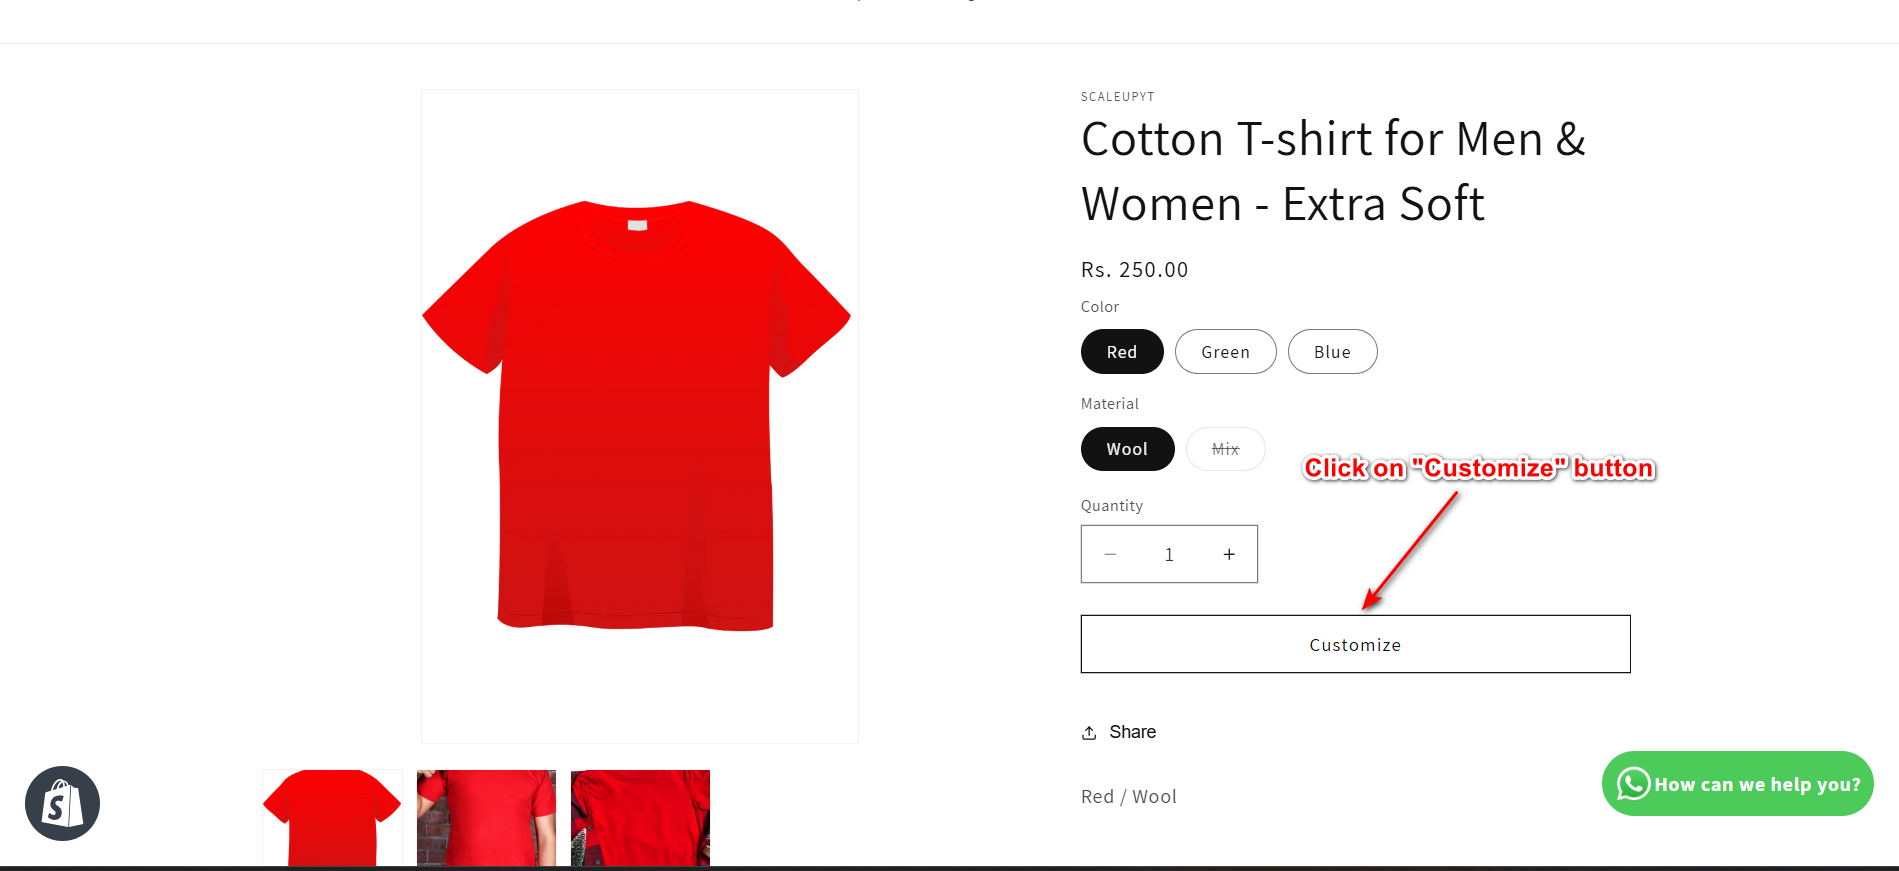
To begin customizing a product, locate and click on the "Customize" button available in the product listing or details page. This will open the product designer, where you can modify design elements, add text, images, or other custom options. Ensure all customization tools are functioning properly before proceeding to finalize your design.
-
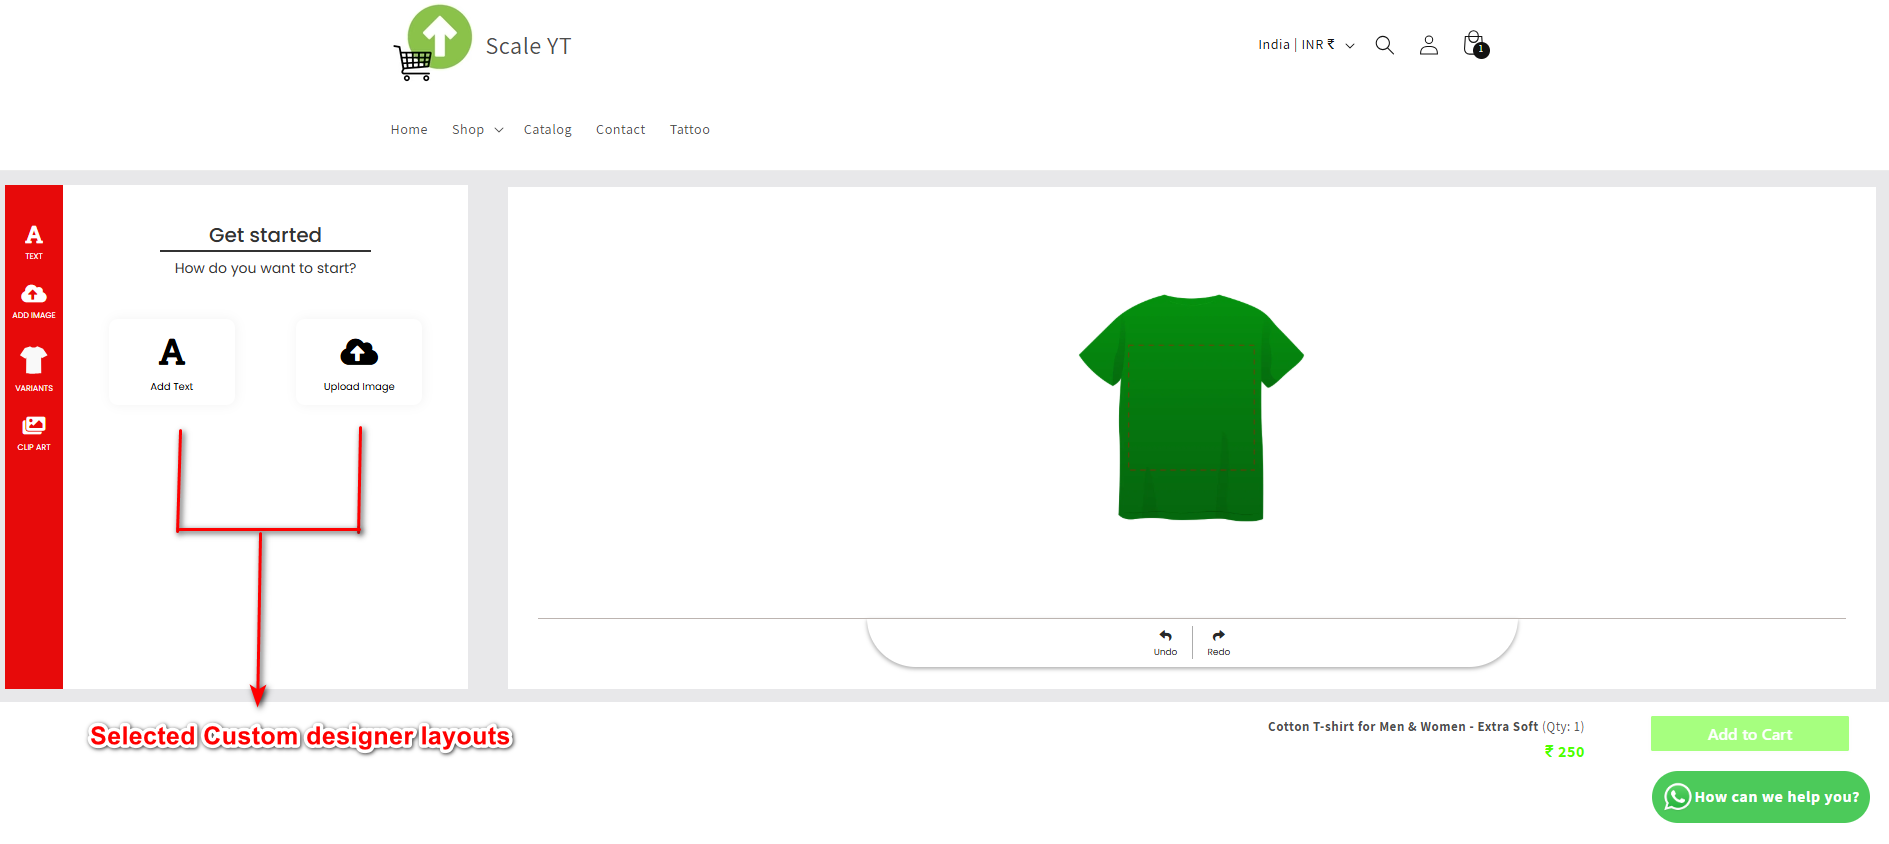
Selected Custom Designed Layout
After selecting a custom-designed layout, review the product preview to ensure the layout is correctly applied and all elements align with your requirements. Verify that the design reflects the intended customization, including text, images, and other features. If satisfied, proceed by clicking "Add to Cart" to finalize the design or make further adjustments in the customization section if needed.
